
There's over 20 million people out there who use Ubuntu as their main operating system, and the number is steadily increasing due to its thriving community.
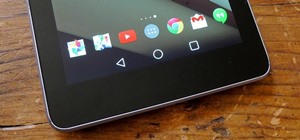
While it's easy enough to download Ubuntu on your PC, the process to get it on your mobile devices can be fairly more difficult. Thankfully, it's not the hard to get Ubuntu onto your Nexus 7 tablet, but first you'll need to unlock it.
How to Unlock Your Nexus 7's Bootloader
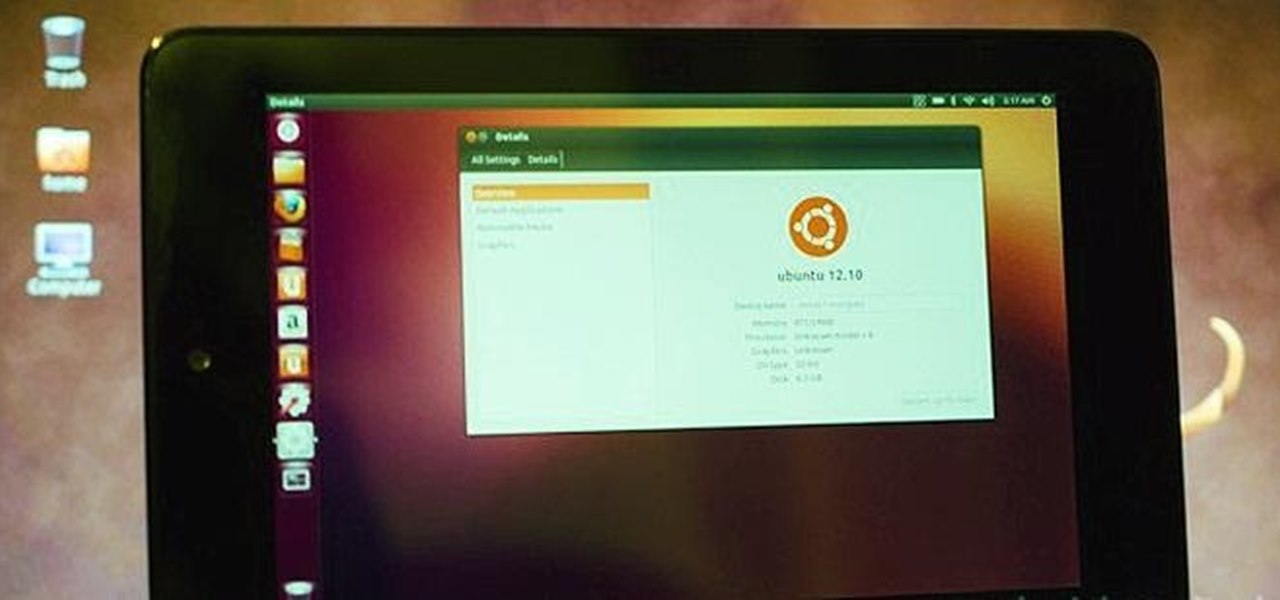
If you'd like to install Ubuntu Linux on your Nexus 7, you'll need the Micro-USB cable that came with your Nexus 7, as well as Ubuntu 12.04 LTS or later. For other Ubuntu versions, scroll down to the next section.
Warning: Unlocking the bootloader may void your warranty.
- Make sure you have the Android SDK installed on your system (for ADB and fastboot). You can find the package by searching for android-tools in the Ubuntu Software Center.
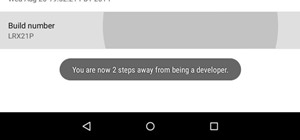
- Make sure you have USB Debugging enabled on your Nexus 7.
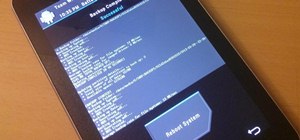
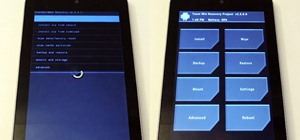
- Hold the volume down and power button together until you see the Android boot loader UI appear.
- Plug your Nexus 7 into your computer via the Micro-USB cable. Your device will then display the boot loader GUI.
- Verify that fastboot lists the device. In a terminal window, run:
$ sudo fastboot devices
1234567891234567 fastboot
- Start the unlock process:
sudo fastboot oem unlock
- When asked on your Nexus 7 to unlock the bootloader, select Yes.
- Then reboot:
sudo fastboot reboot-bootloader
When your Nexus 7 reboots back into fastboot mode, you should see LOCK STATE - UNLOCKED in small red text. You're not unlocked!
If you're having trouble having your computer talk to your Nexus 7, then you might need to enable permissions. You can find out how to do that here.
How to Install Ubuntu onto Your Unlocked Nexus 7
For this, you'll need the Ubuntu Nexus 7 Desktop Installer, which you can grab via a PPA:
sudo add-apt-repository ppa:ubuntu-nexus7/ubuntu-nexus7-installer
sudo apt-get update
sudo apt-get install ubuntu-nexus7-installer
Once it's installed, make sure your Nexus 7 is connected to your computer and ensure it is in fastboot mode. Make sure your Nexus 7 is the only device plugged in!
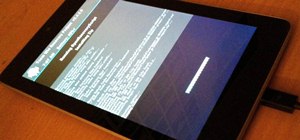
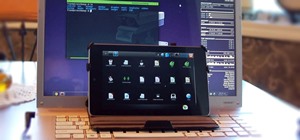
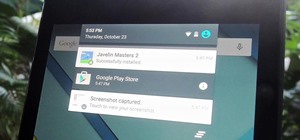
Now just find the installer on the dash (just search for "nexus") and open it. It will download the latest image automatically and flash it to your Nexus 7. After a couple of minutes, your device will reboot and finish the Ubuntu installation, which should take about 10-15 minutes.
For troubleshooting tips and info on how to return your Nexus 7 back to the stock Android system, visit the complete instructions by Canonical over on the Ubuntu Wiki.
Installing Earlier Versions of Ubuntu on Your Nexus 7
If you have any versions of Ubuntu below 12.0, don't fret, because the video below shows you how to install any older versions on your Nexus 7. You'll just have to unlock your device following the instructions above, then install the files manually.
You can also read the entire step-by-step process over on Nexus 7 Root.
Just updated your iPhone? You'll find new emoji, enhanced security, podcast transcripts, Apple Cash virtual numbers, and other useful features. There are even new additions hidden within Safari. Find out what's new and changed on your iPhone with the iOS 17.4 update.


2 Comments
how do you do this with windows?
You don't :)
Share Your Thoughts